How to Change the Plastic in the Lulzbot Mini 3D printer
To change the plastic, you’ll need to adjust both the 3D printer and the Cura software.
- Cut the current plastic an inch or two from the print head assembly, so you can get hold of it.
- Check the print head temperature recommended on the current spool.
- In Cura, set the Hot End temperature to the desired print temperature for the current plastic and click Preheat.
- Once the print nozzle is hot enough, you can unsnap the filament holder and remove the end of the old plastic.
- If the print nozzle isn’t hot enough, you won’t be able to remove the old piece of plastic.
- Put the new spool on the hanger and feed the plastic into the notch under the wheel until it won’t go in any further.
- Re-fasten the clamp that holds the filament in place.
- In Cura’s Monitor view, click Extrude until some of the new filament feeds out. (This may take several clicks.)
- Some of the old plastic may still be visible at the start of the feed. Click Extrude a few more times until the new color shows up.
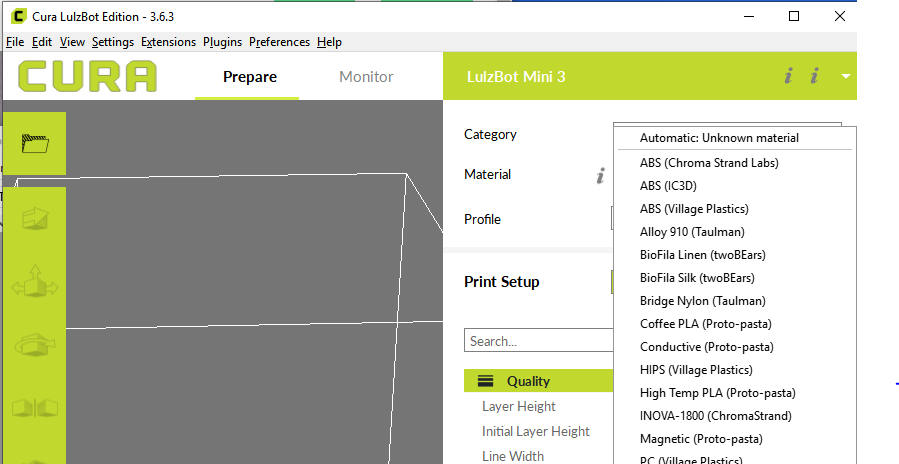
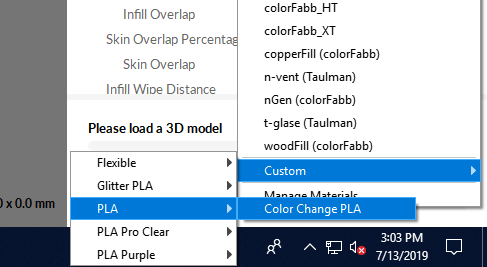
- In Cura’s Prepare view, select the new plastic from the Materials menu to adjust the presets around temperature, speed, and extrusion thickness.


 Join us tonight 7pm for